
DIY Hair Highlights: What You Need to Know Before You Start
Thinking of adding some flair to your hair with highlights but want to skip the salon? DIY hair highlights can be a fun and cost-effective way to update your look. However, before diving in, there are a few things you need to know to ensure a successful outcome.
Choosing the Right Highlighting Kit
The first step in DIY hair highlights is selecting the right kit. There are various options available, ranging from cap highlighting kits to foil and balayage kits. Choosing the right one depends on the look you want to achieve and your hair type.
For beginners, cap kits can be an easy start. These kits typically come with a cap and hook to pull sections of hair through, allowing for precise application. If you're more experienced, you might opt for a foil or balayage kit for a more natural effect.
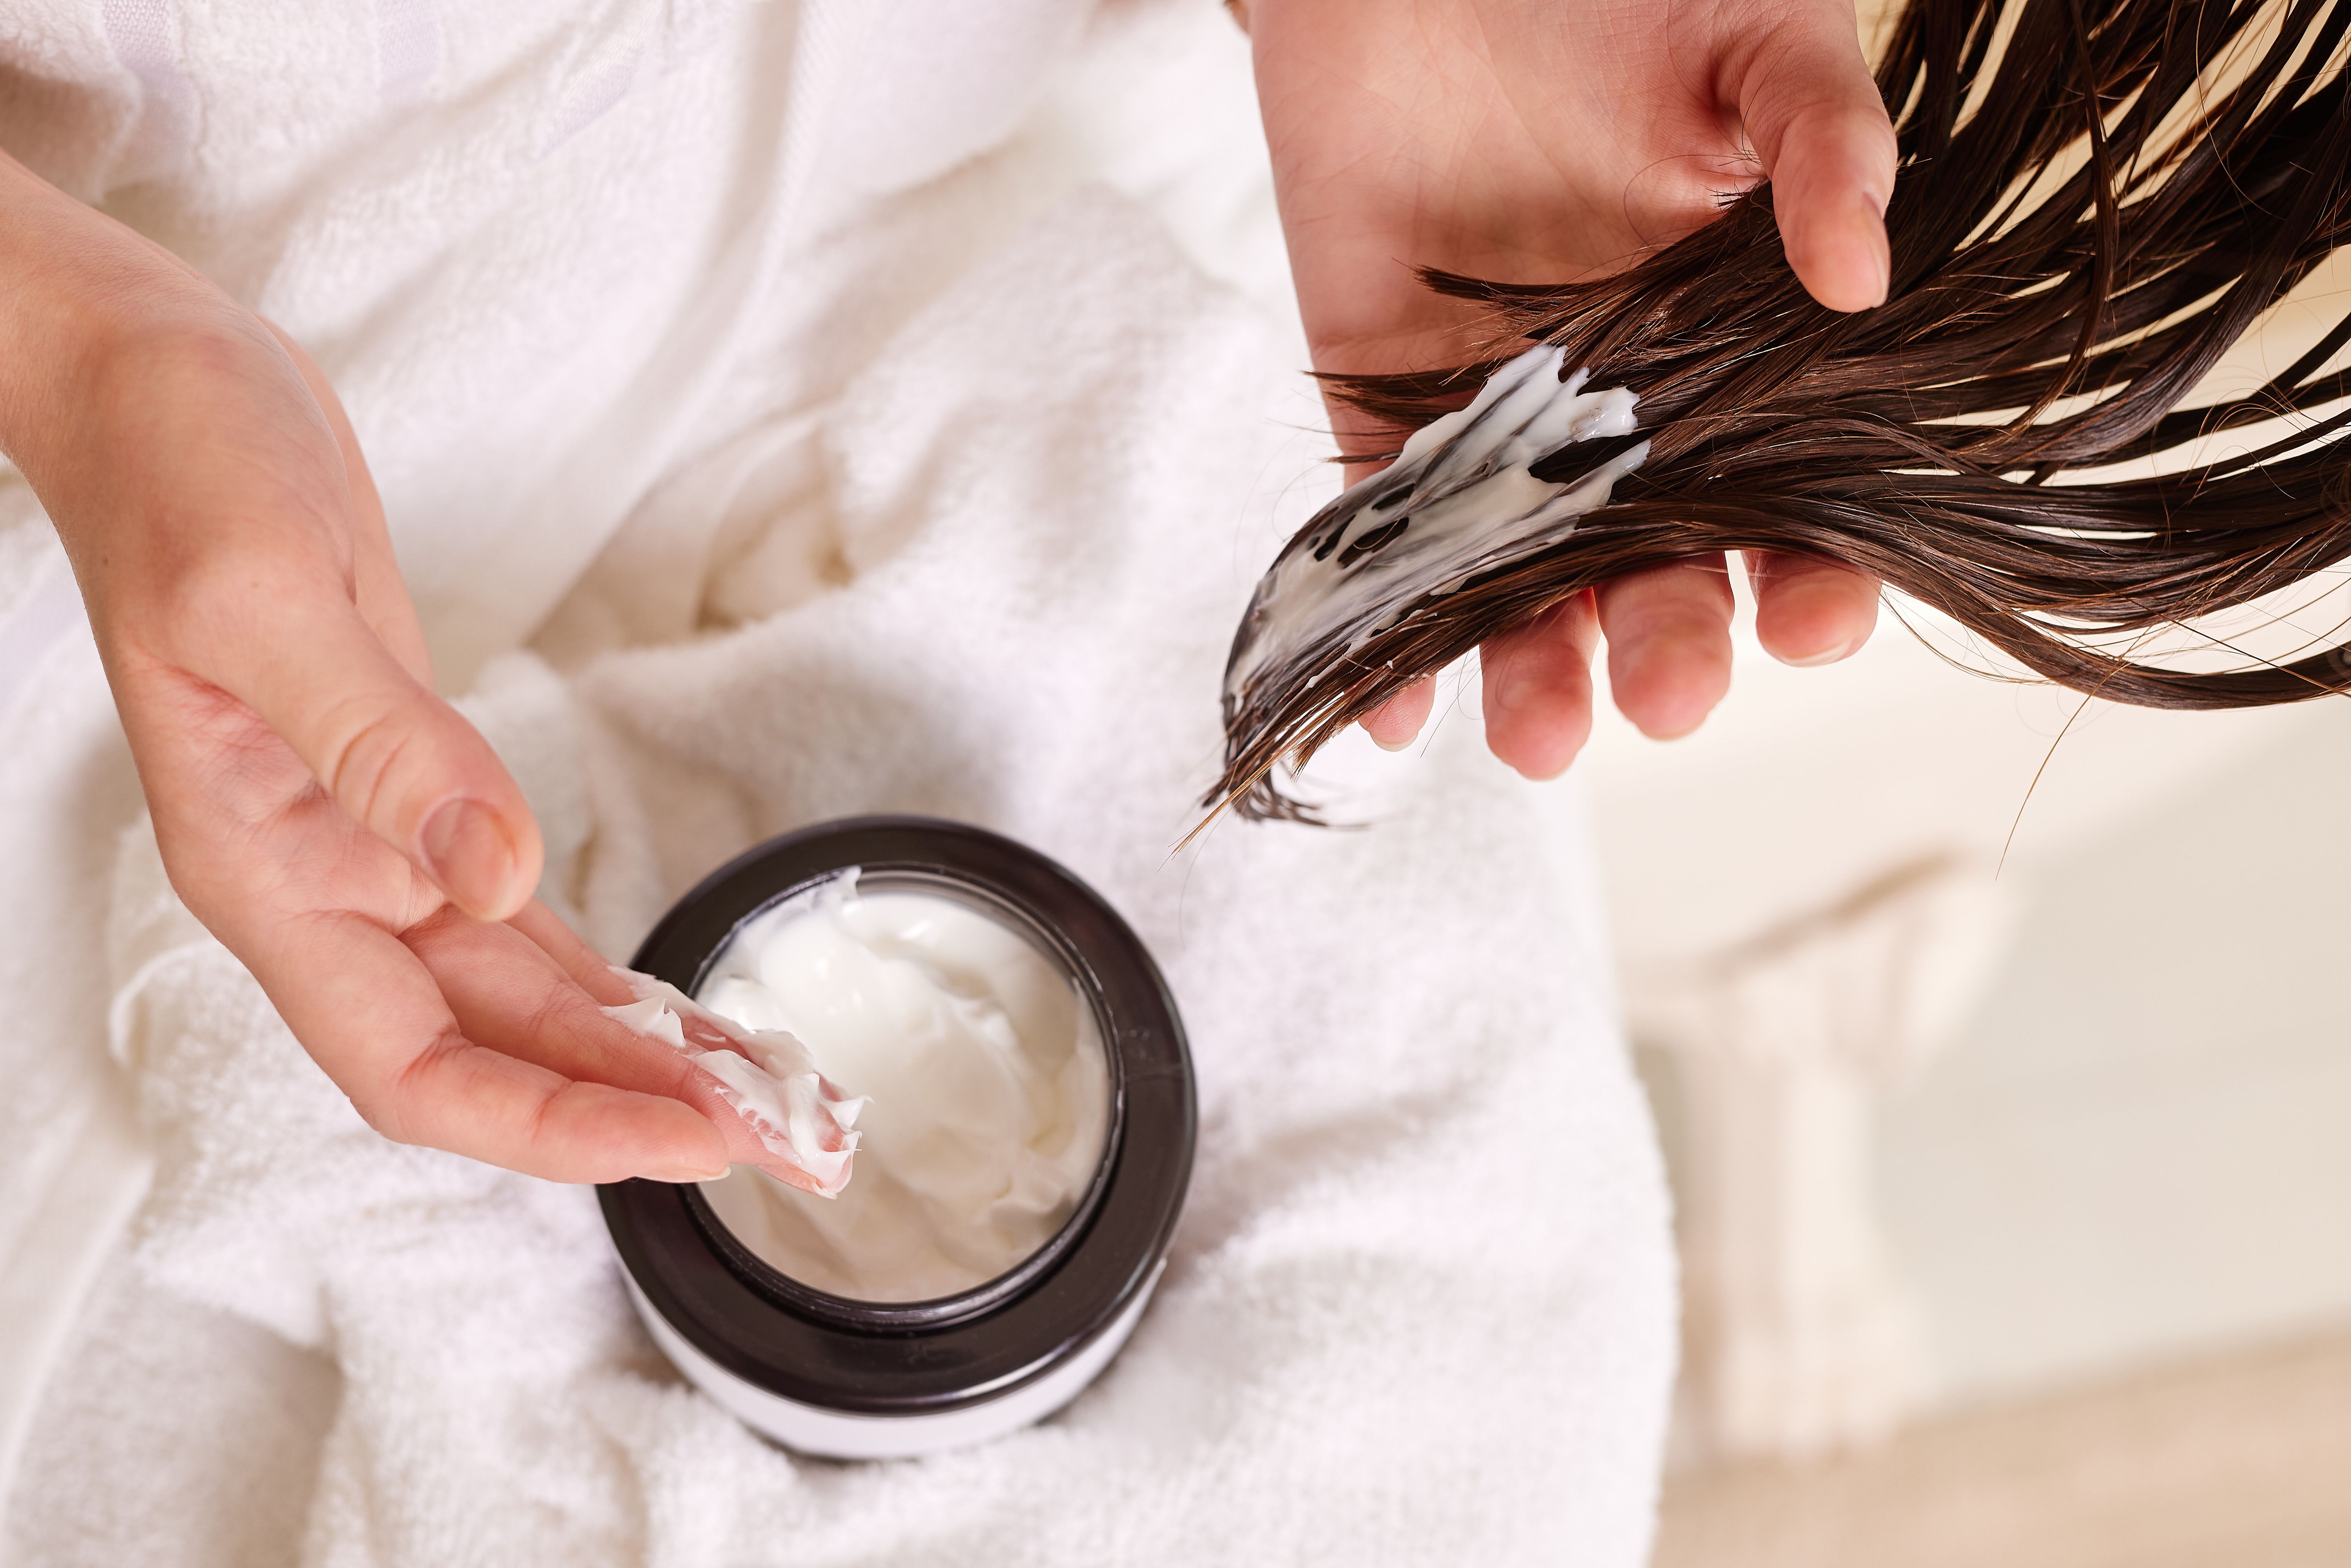
Preparing Your Hair
Preparation is key to achieving great results. Before you start, make sure your hair is clean and dry. Washing your hair a day before highlighting can help remove any product buildup, ensuring the color adheres better.
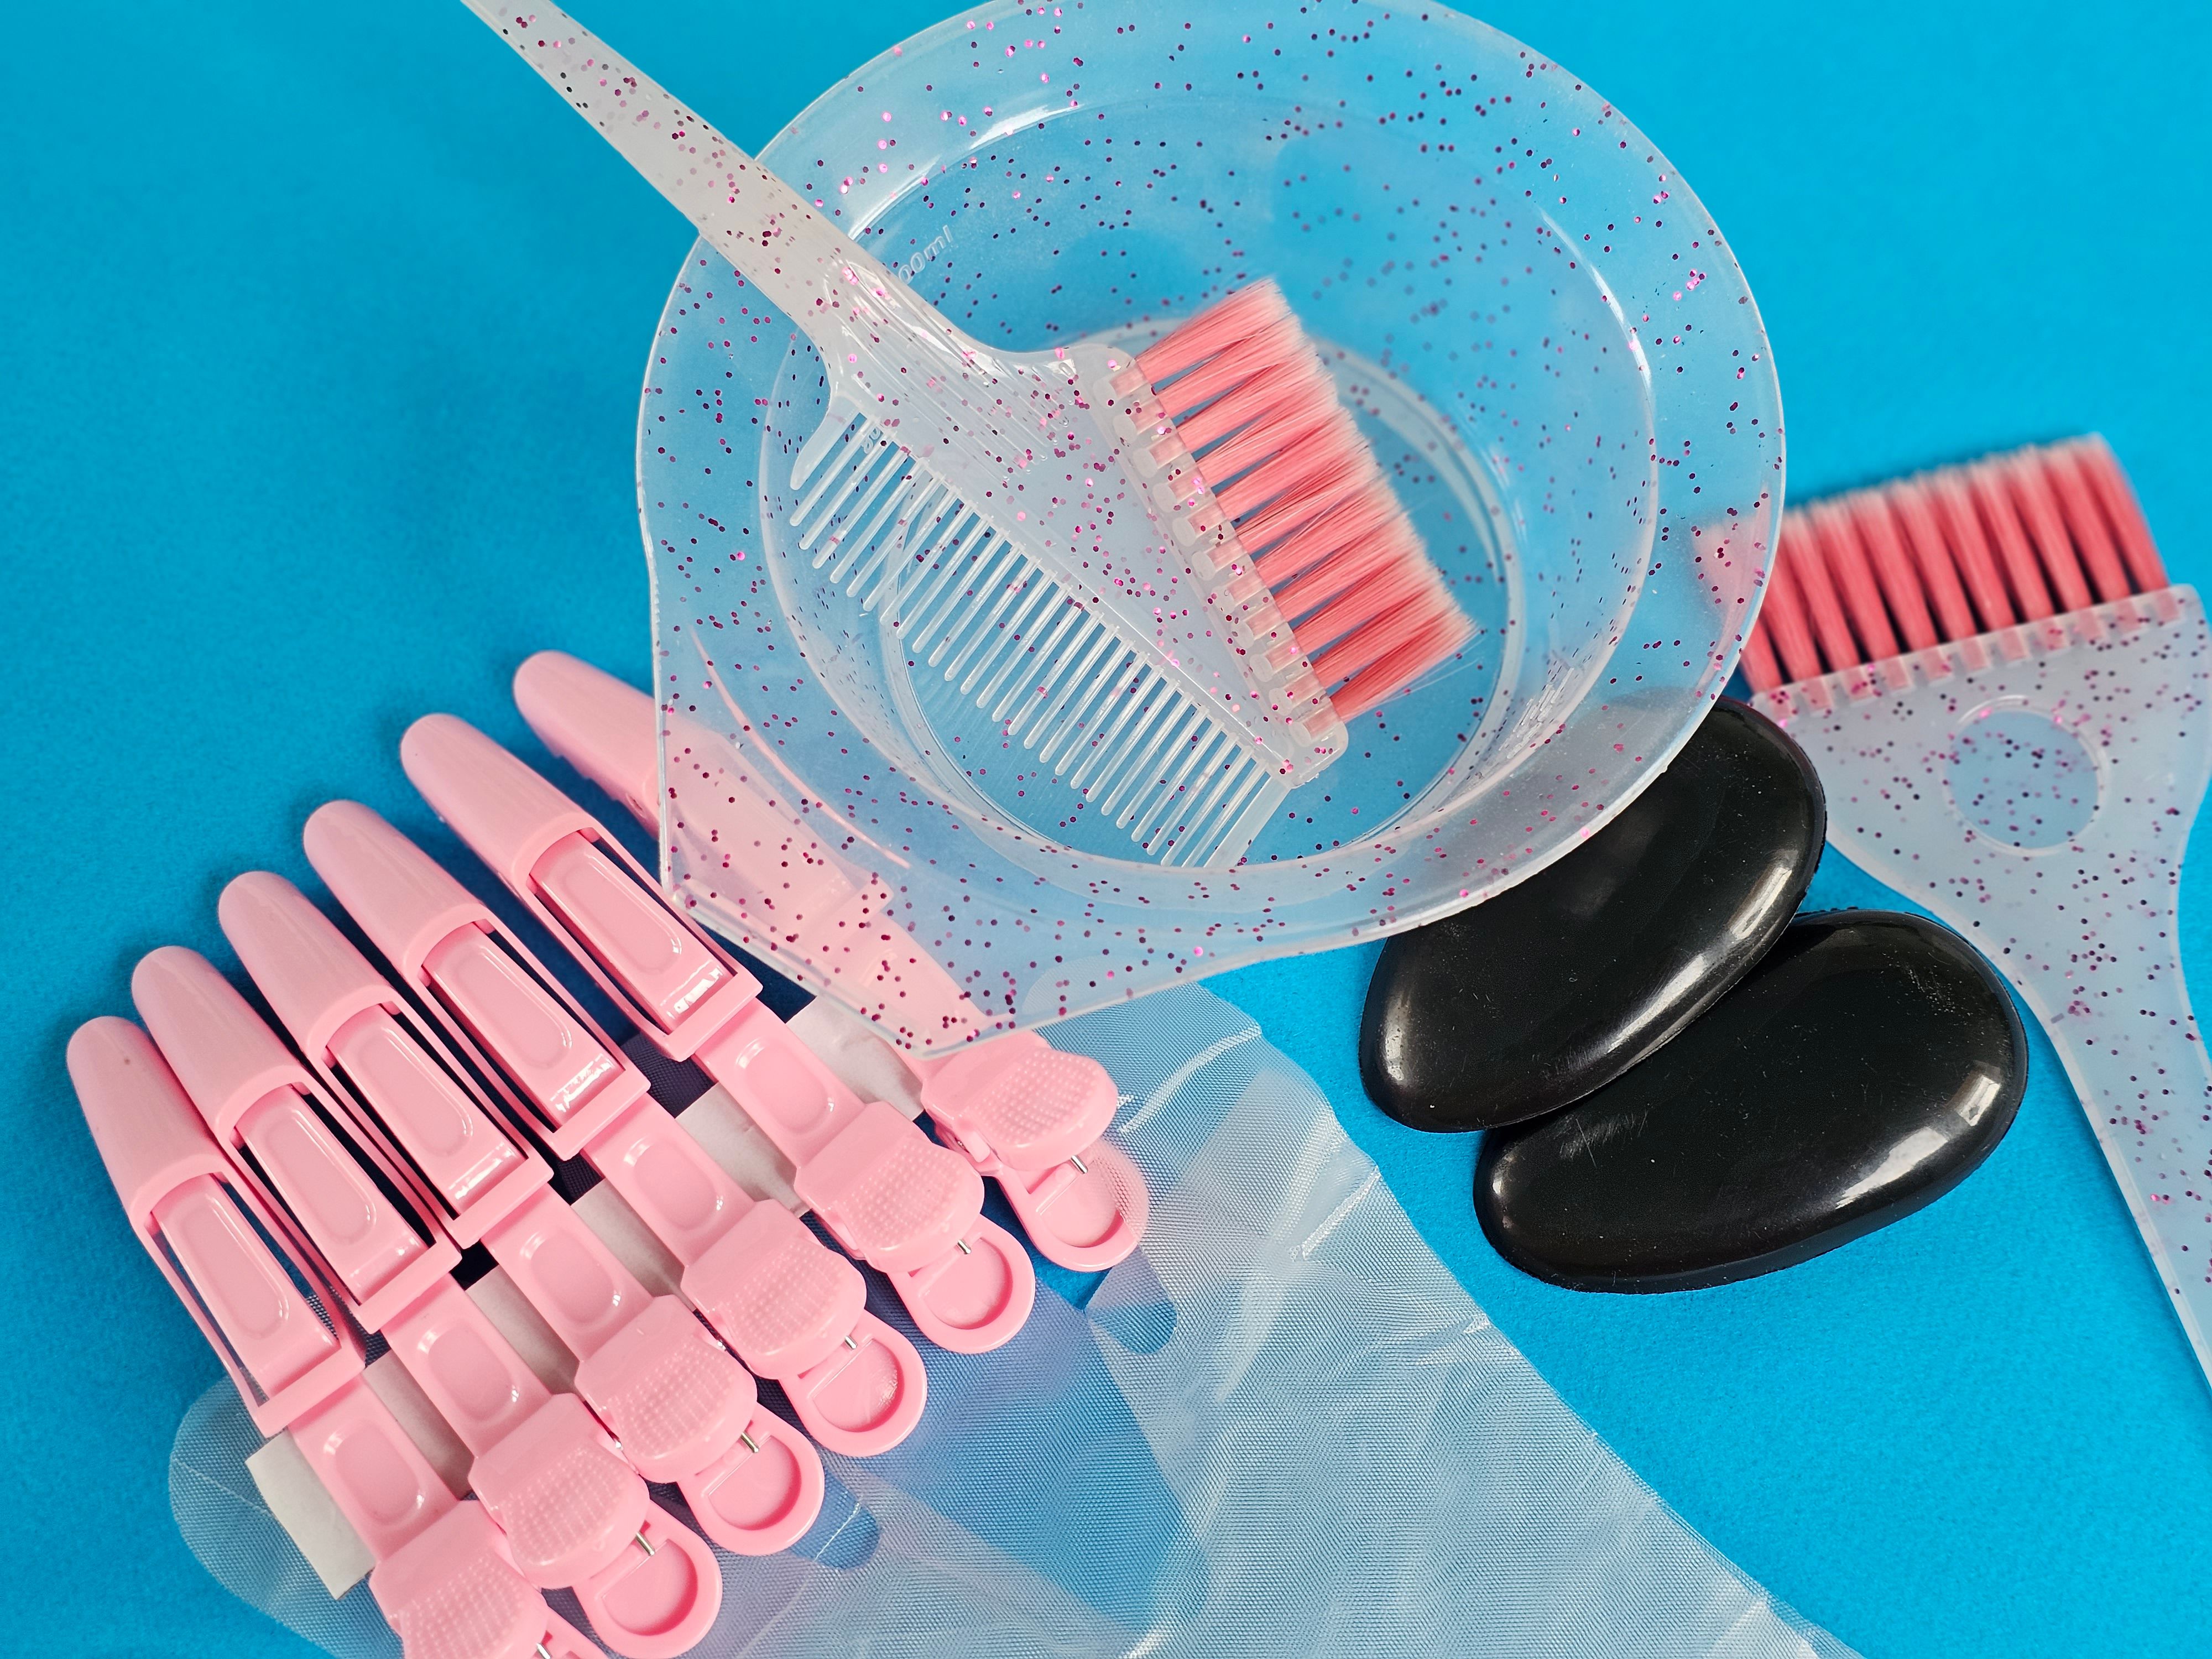
Additionally, make sure to gather all the necessary tools, such as gloves, clips, and a timer. Having everything ready will streamline the process and minimize mistakes.
Performing a Strand Test
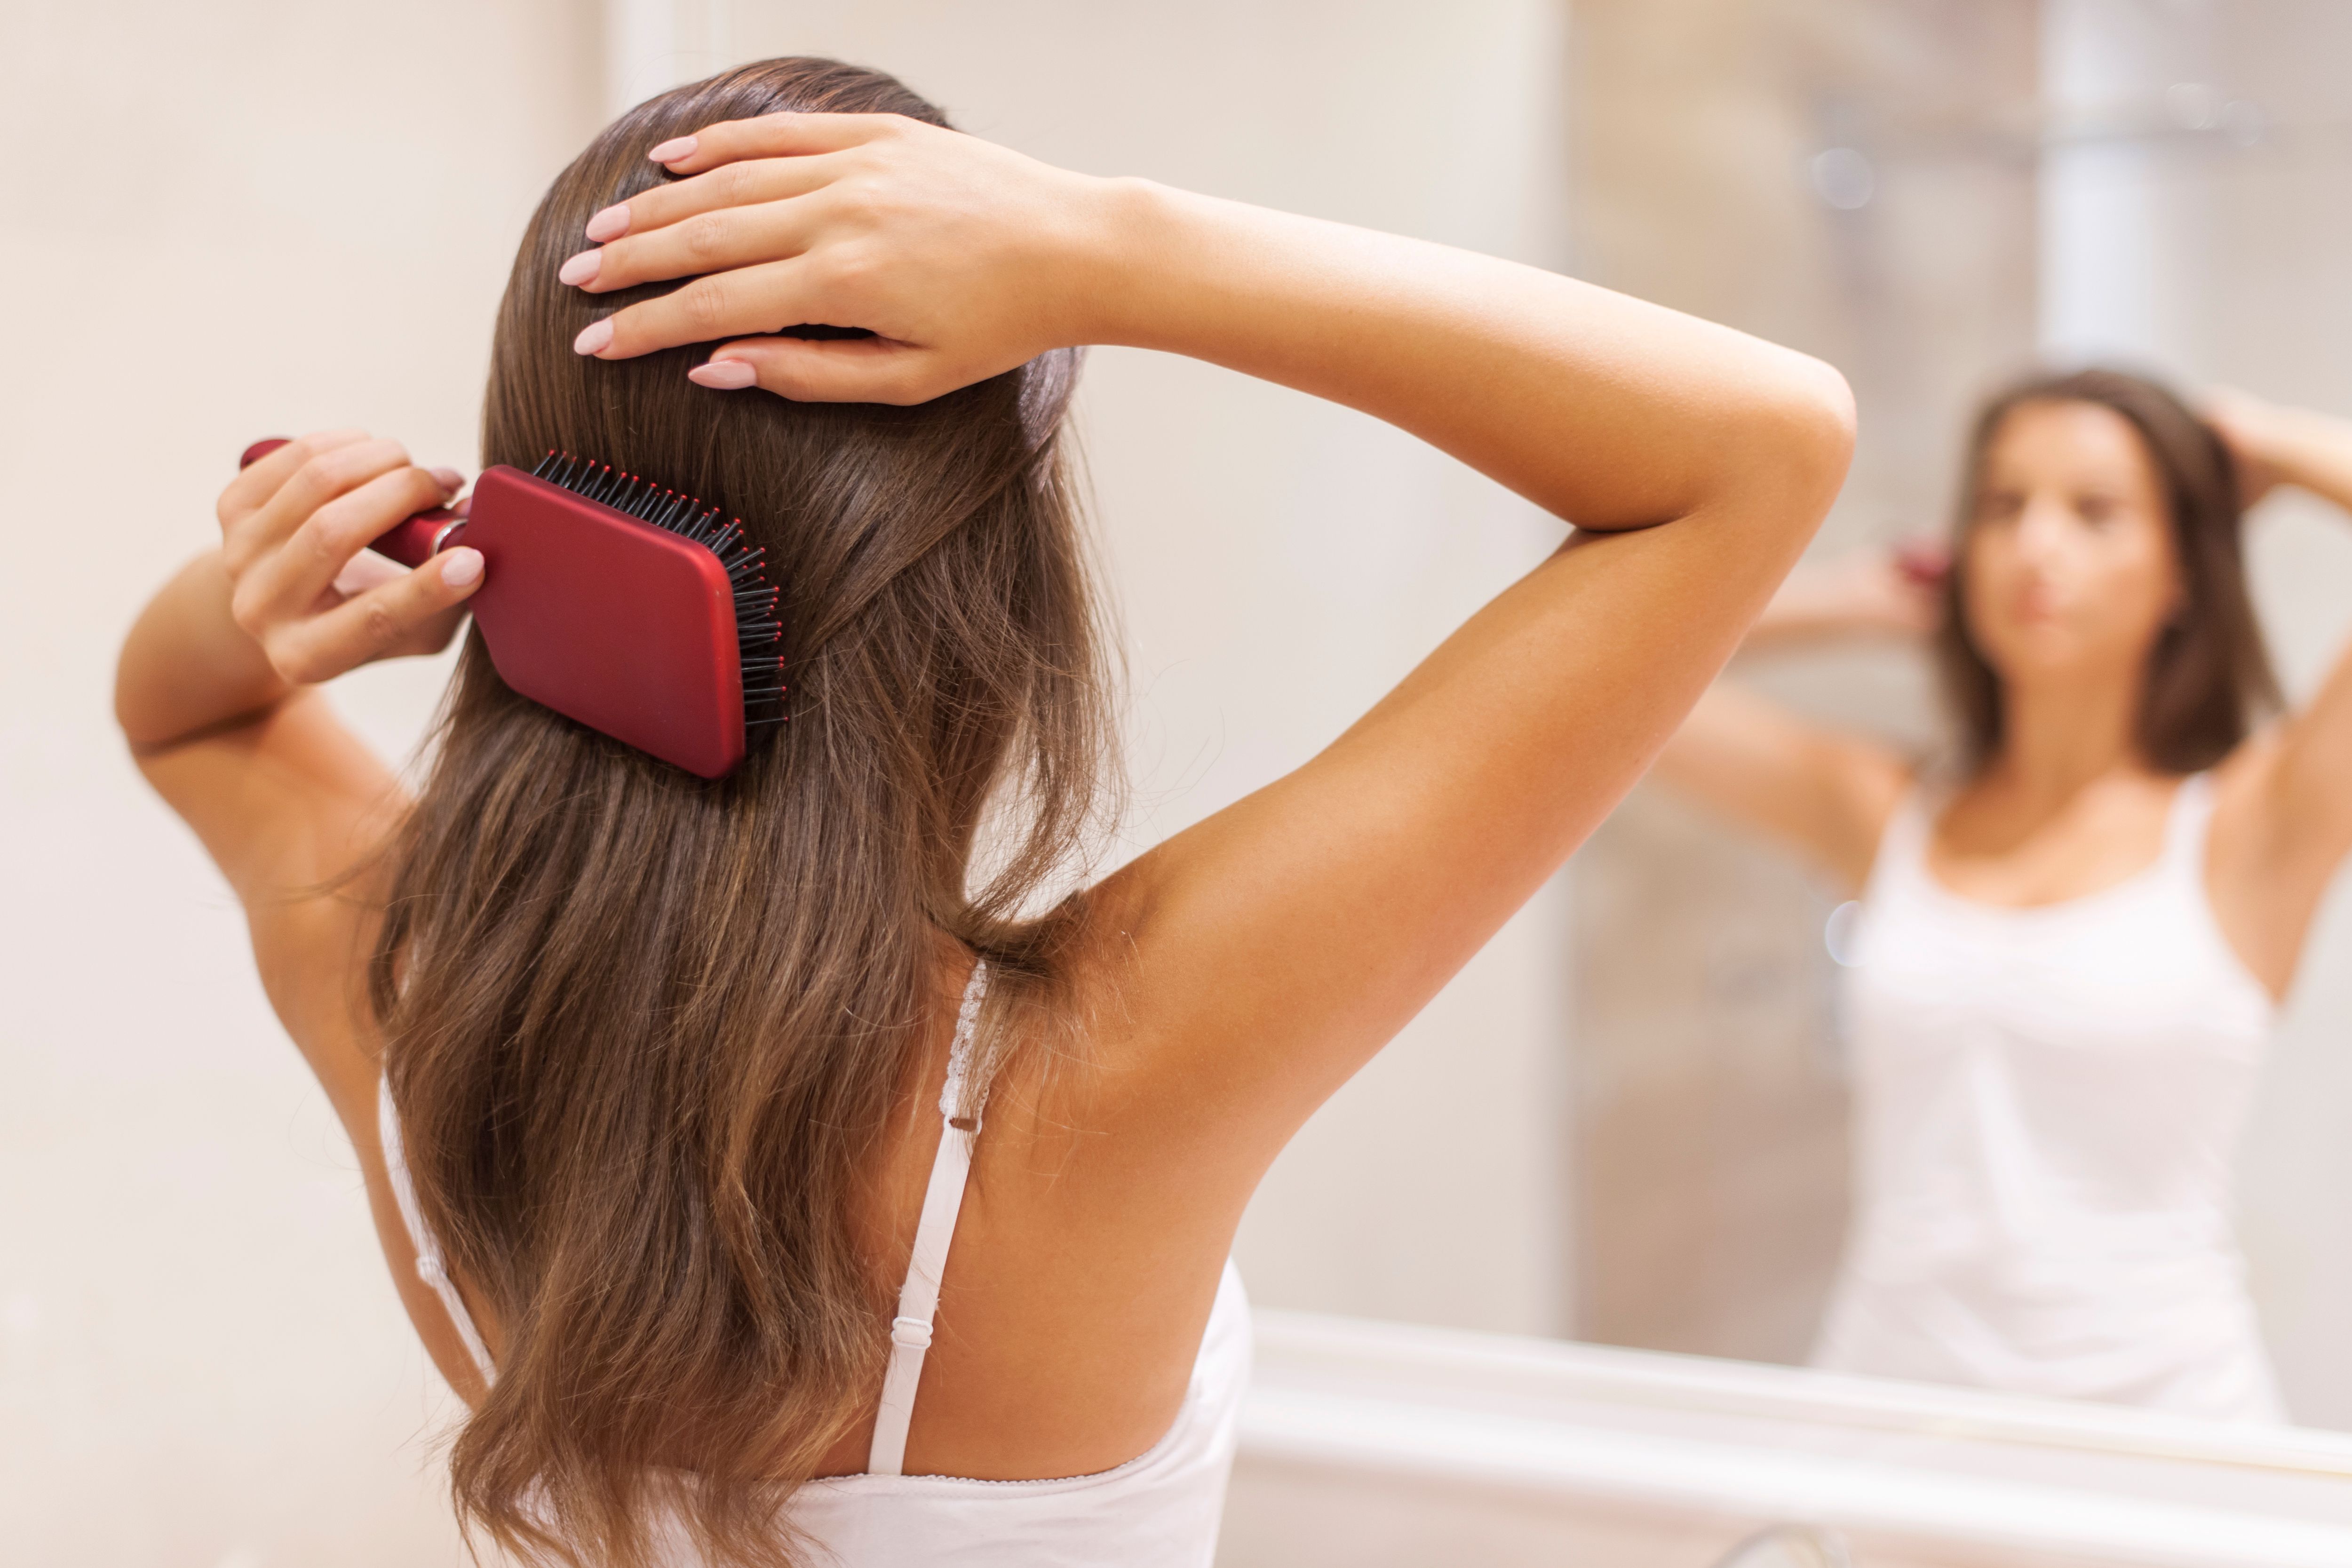
Before applying the dye all over, it's crucial to perform a strand test. This will help you determine how your hair reacts to the dye and what the final color will look like. Simply apply the dye to a small section of hair and leave it on for the recommended time.
Check the result to see if it meets your expectations. If you're not satisfied, you may need to adjust the processing time or choose a different shade.
Applying the Highlights
Once you're ready to apply the highlights, start from the back and work your way to the front. This ensures you can easily monitor the progress as you go. Use clips to section off your hair, making it easier to manage and apply the dye evenly.
If using a cap highlighting kit, follow the instructions carefully. For foil or balayage techniques, take small sections of hair and apply the dye, folding the foil over to keep it in place.
Timing is Everything
Pay close attention to timing, as leaving the dye on for too long can lead to unwanted results. Use a timer to keep track of the processing time, and check the color periodically to ensure it's developing as desired.
Once the allotted time is up, rinse your hair thoroughly with lukewarm water, and follow up with a color-safe conditioner to lock in moisture.
Maintaining Your Highlights
After achieving your desired look, it's important to maintain your highlights to keep them looking fresh. Use shampoos and conditioners specifically formulated for color-treated hair to prevent fading.
Limit the use of heat styling tools, and consider incorporating a weekly deep conditioning treatment to keep your hair healthy and vibrant.
DIY hair highlights can be a rewarding and creative process. With the right preparation and technique, you can achieve salon-worthy results in the comfort of your own home. Just remember to take your time, follow the instructions, and enjoy the transformation!